-
Products Center
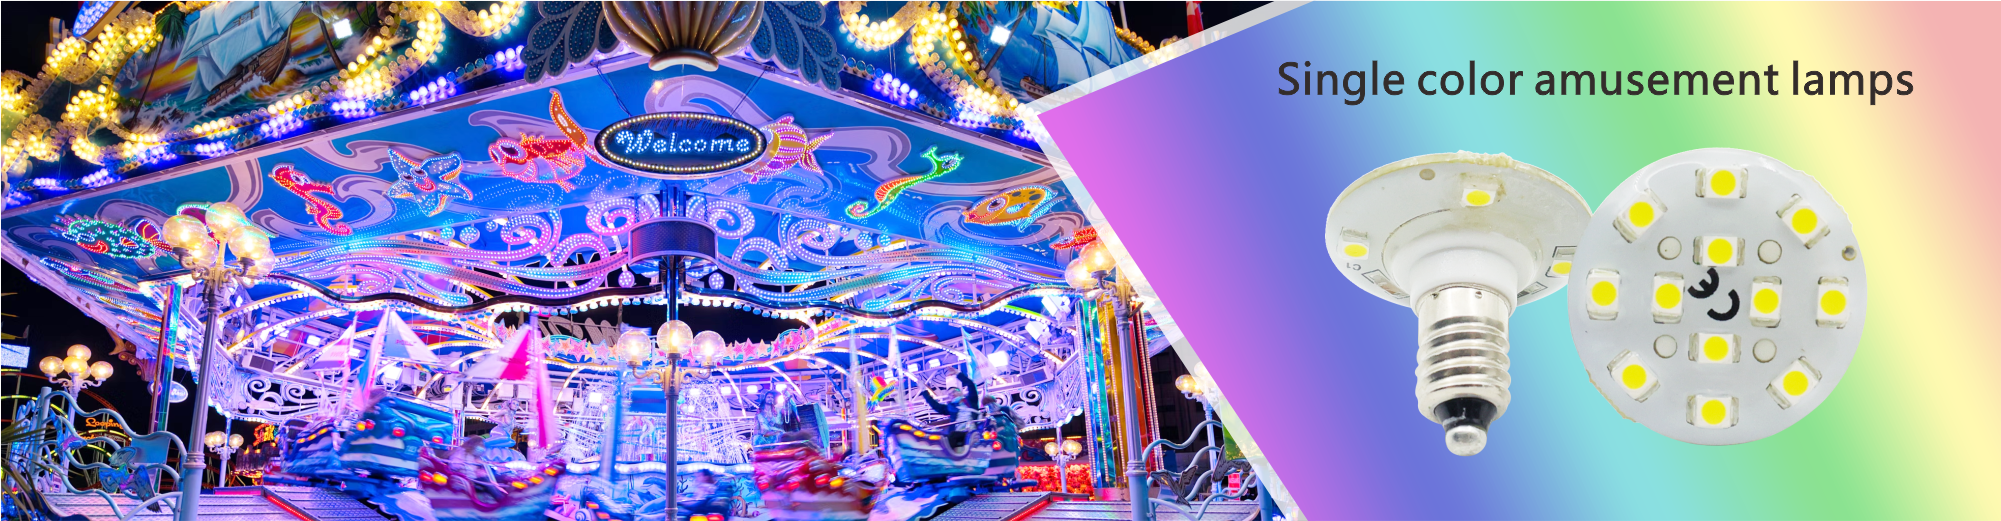
- Single colour Amusement Lights
- E10 Single Colour Amusement Lights
- E14 Single Colour Amusement Lights
- E27 Single Colour Amusement Lights
- 2PIN Single Colour Amusement Lights
- Automatic Amusement Lights
- E10 Automatic Amusement Lights
- E14 Automatic Amusement Lights
- E27 Automatic Amusement Lights
- 2PIN Automatic Amusement Lights
- Programmable Amusement Lights
- 0.2-2WProgrammable Amusement Lights
- 2.1-5W Programmable Amusement Lights
- 5.1-20W Programmable Amusement Lights
- 21-100W Programmable Amusement Lights
- Application Area
- Certificate Center
- Technical Support
- Contact US
How to wire Cabochon lights ?
- date: 2023-03-03
- category: Industry knowledge
- click:
Aglare lighting for all fairground rides' illumination, our lighting solutions are suitable for various types of amusement facilities and attraction signs customized according to the design and required size, and can obtain excellent lighting effects.

How to wire Cabochon lights?If you choose Cabochon light bulbs for your project, you can try

Drill a hole in the backing material – this could be a simple shape or the letters to make up your sign, wherever you intend to add your lights. For E10 Cabochons, you will need a 14mm hole. For E14 Cabochons, increase the size to 20mm.
Next, push the lamp holders through the back of each hole.For either size Cabochon, the maximum thickness of material for your lamp holders to be used with is 10mm. Any material thicker than this, and a 40mm diameter area will need to be rebated on the back of the material, where the lamp holder is meant to go. Be sure to leave a thickness of between 1-10mm.
From there, screw the Cabochon base onto the head of the lamp holder, making sure it is tightly and securely screwed on. This just ensures that the socket isn’t wobbly or your finished result insecure.
Once the Cabochon base has been screwed on, the next step is to screw in your LED lights inside the Cabochon base.
Place the Cabochon cap over the top and screw it on top. This closes the lighting unit so that the base matches the cap and dictates the pattern and colour of light from the front of the bulb.
On the back of your material, place your wires in the groove of the lamp holder. One thing to remember is that it doesn’t matter which way round the wires go.
Now, picking up the lamp holder nut, the next step is to screw it to the back of the holder. This is to pierce the wires on the brass spikes, ensuring that the wires are secure and in place to allow an electrical connection to be made between the wire and the bulb.
Take the 2 port lever clamps and attach the wires from your lights to the colour coded wires on your power source. Take care to ensure that the colours correctly correspond.
Following on from this, the final step is to attach the brown and blue wires of the power source to the mains. A simple 3-pin plug should suffice; you can either buy one yourself or use the one supplied in any of the WeLoveLEDs complete kits.
Note: if you’re unsure of what to do when connecting your lights to the mains supply, always seek the advice of a qualified electrician. Don’t attempt to do it alone unless you’re confident in how to do it.